
The lighthouses and the 3D printer.
From time immemorial, the lighthouses have served as models for amateurs and professionals.
There are copies in various forms. Here are some examples.
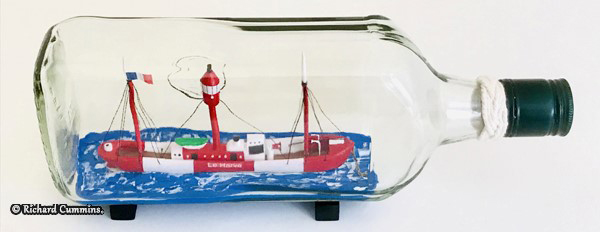
Model in a bottle.
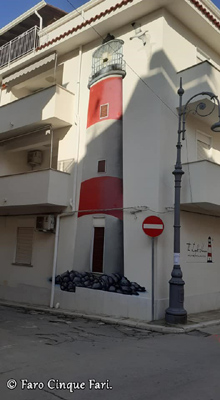
Mural painting.
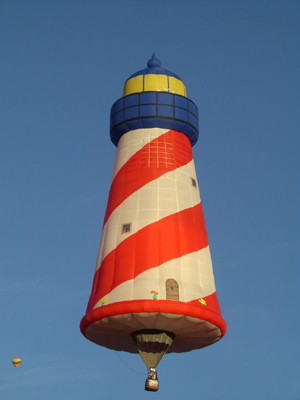
Hot air ballonn.

The Lego bricks.
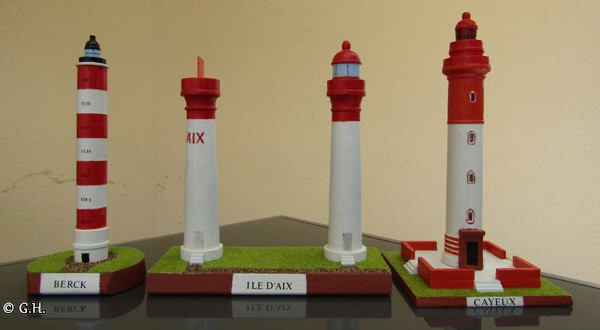
Wooden models.
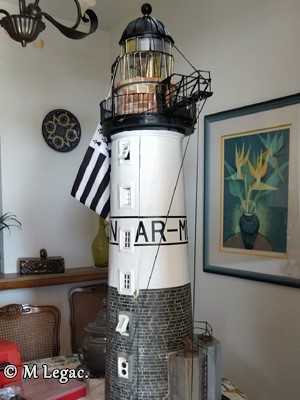
Materials not specified.
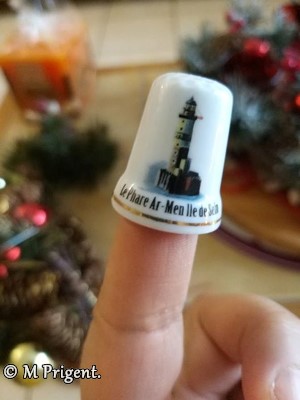
The thimble.
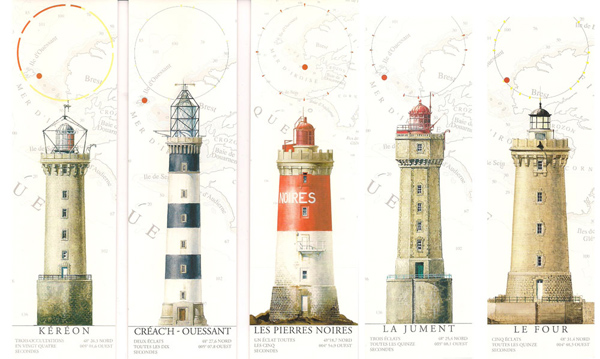
Bookmarks and drawings by JB Heron.
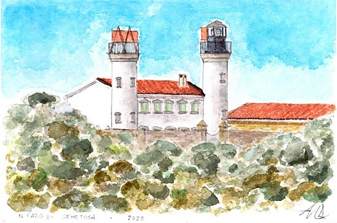
Watercolours.
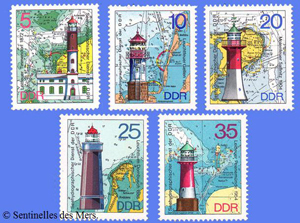
Stamps.
This list is far from complete.
A few years ago, a new technique came into being: the 3D printer. The purpose of the page is to show the workflow and the end result.
He has a little surprise in store.
The 3D printer.
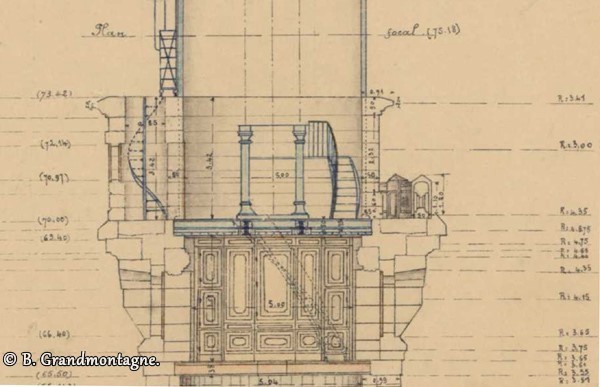
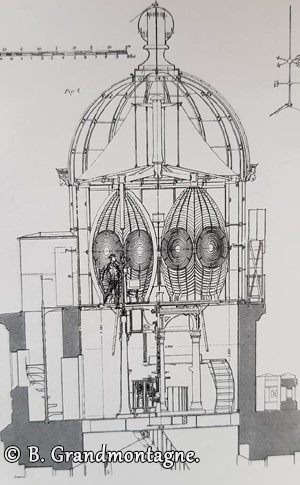
The first and most important phase of the work is to find the plans for the lighthouse. Preferably a cut plan with the measurements.
Here, the lighthouse concerned is the lighthouse of the Ile Vierge - Britain (French coast).
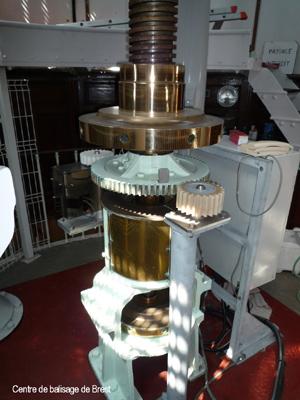
Photos of the underside of the mercury tank is important because it must be properly placed in the project.
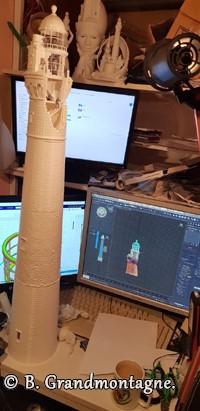
The second phase is to model the subject with a 3D drawing program. This one must be scaled and represent stacking the walls by the Kersanton and the stones of this lighthouse.
The drawing is done by floor.
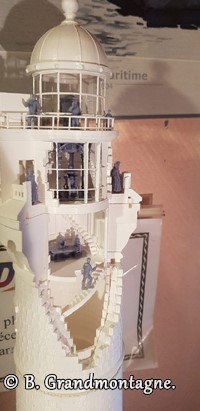
The purpose of the model is also to show the watch room, the staircase that leads to it, the mercury tank as closely as possible.
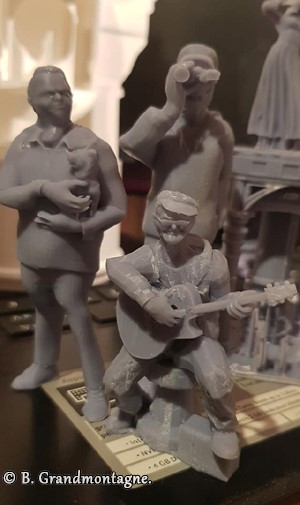
That is why the wall of the lighthouse is not present on a part of the top floor. To enhance everything, the keepers are present.
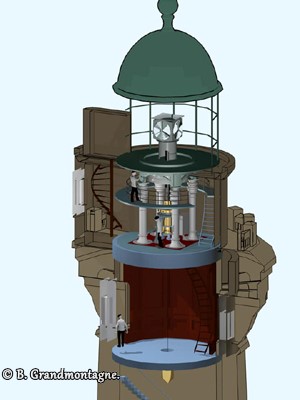
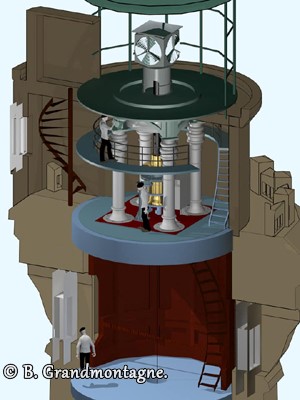
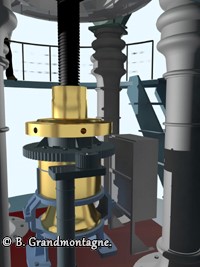
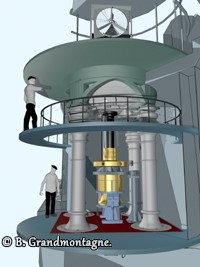
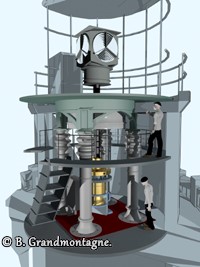
When the plans are completed, the 3D program transforms the plans into a code file.
These codes are sent to the printer that executes them. It moves the head and melts the resin.
The printer takes a lot of time to work. You also have to replace the coil from time to time.
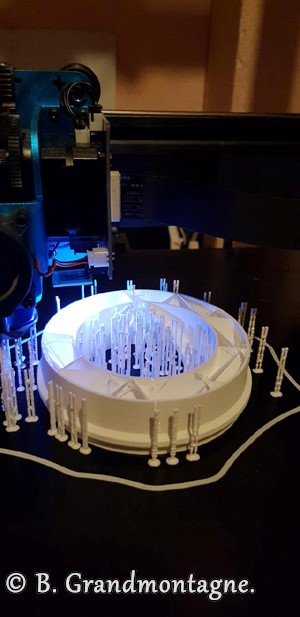
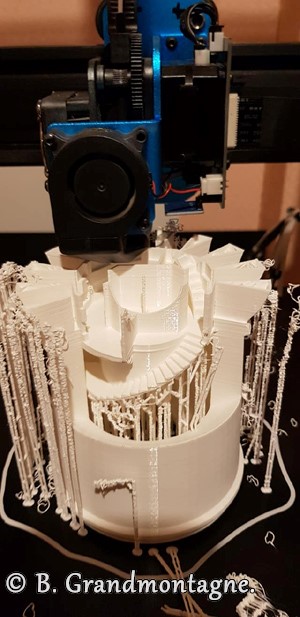
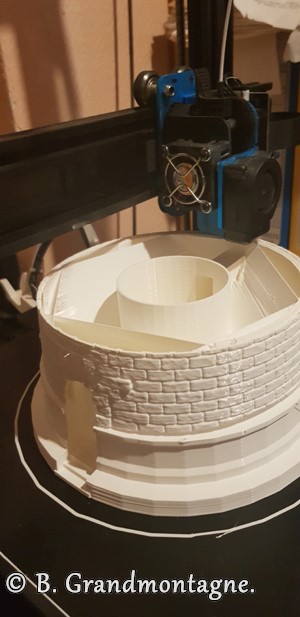
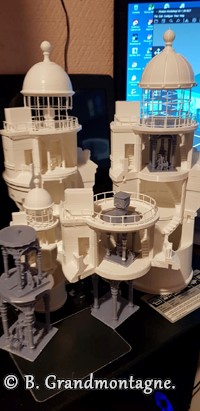
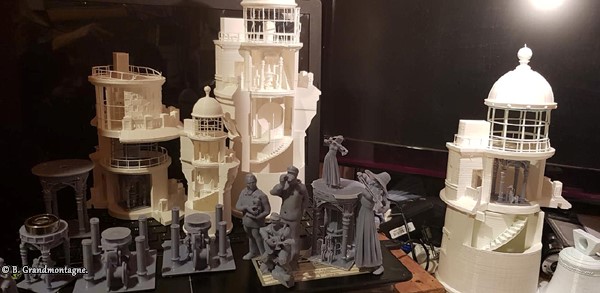
Here are the parts once the printer work is complete.

These are the keepers. I’m sure you know them....
Thanks.
I congratulate Bernard Grandmontagne for his work. He shows with excellence what can be done with a 3D printer.
I also thank him for his photos and permission to have been able, simply, to make this page.