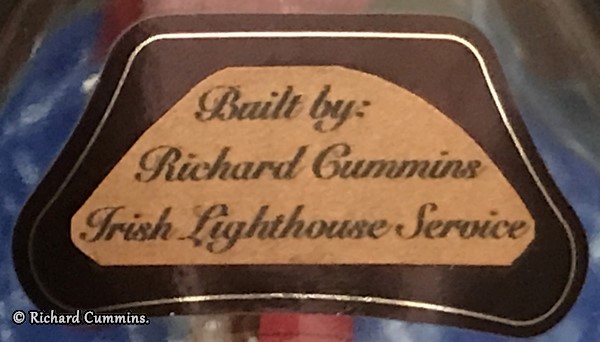
Ships-in-bottles - Richard Cummins.

I joined the Irish Lighthouse Service at the age of 18 and after initial training at a maritime school In Dun Laoghaire Harbour I was stationed at the Baily Lighthouse on Howth Head in County Dublin.
From here I was sent around the Irish coast as a relief keeper to fill in for crewmen who were on leave or out sick.
This enabled me to gain experience on all types of lighthouses from headlands to offshore towers and as a result I got to work on most Irish lighthouses.
Normally after a year or two a young keeper would get a permanent station but due to automation I spent 7 years as a relief keeper before I was appointed to Mizen Head lighthouse in County Cork.
During my spare time I built ships in bottles and studied photography.
After automation ended the need for manned lighthouses, my wife and I emigrated to Southern California where I turned my love of photography into a business.
I traveled the world shooting landscapes and architecture for major corporations and book publishers as well as publishing my own books and calendars.
I decided to retire at 55 and concentrate on what I love to do which is building model ships and visiting as many lighthouses as I can.
Introduction.
Nearly all ships-in-bottles made in Ireland were built by lighthouse keepers and lightship men.
It was a perfect hobby for the confined spaces in offshore towers and small lightships and most of the materials (except bottles) needed were available onboard.
As a young 18 year old keeper I traveled from station to station to gain work experience while waiting for a permanent position.
During my travels I met many keepers who were master model builders and they patiently guided me as I built my first ship in a bottle (photo #1).
After automation keepers were no longer needed and the art of ships-in-bottles made on lighthouses faded into history along with the men who built them.
I am the last lighthouse keeper who still practices this unique form of model building and I'm trying to preserve the tradition of all those who have gone before me in the Irish Lighthouse Service.
The average model takes a bout 20 hours of work, while technically they are not difficult to build patients and attention to detail are vital if you are to get a successfully and pleasing result.

Photo #1.
Selecting the Bottle.
The first step is to select a suitable bottle, one with clear glass and a wide neck works best.
A ship can be put in any size bottle (photo #2) from a 5 cm perfume bottle to large 5 liter whiskey bottle and each has it own difficulties.
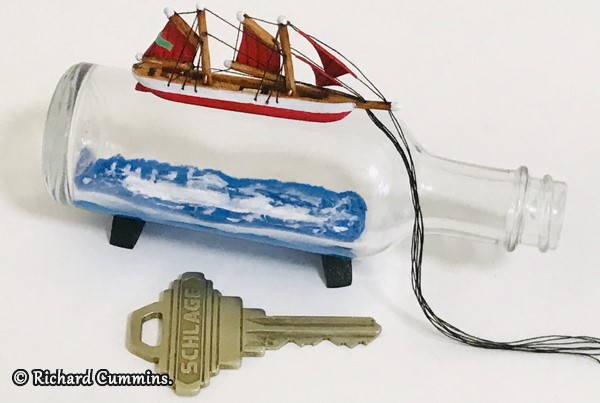
Photo #2.
Some are more suited to single mast sloops and others to elaborate 6-masted schooners (photos #3, #4).
The traditional bottle is the "Pinch" bottle which contained Dimple Haig Whiskey (photo #5) but they are very rare and difficult to find nowadays.
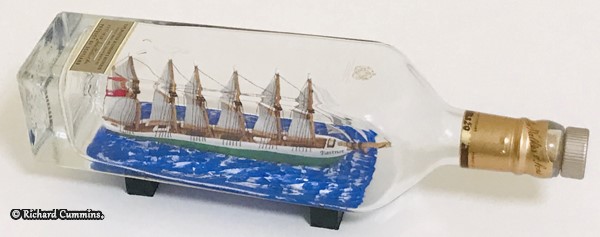
Photo #3.
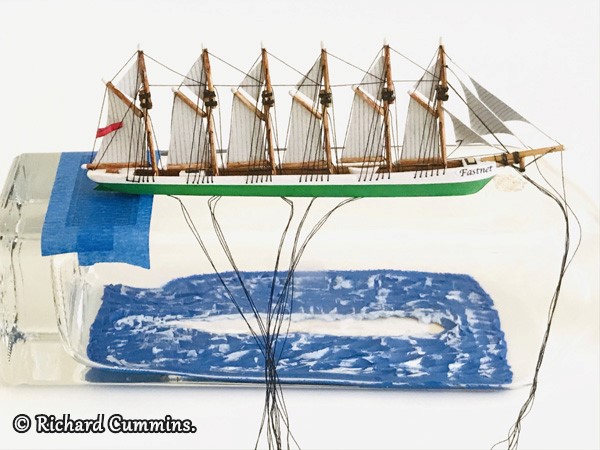
Photo #4.
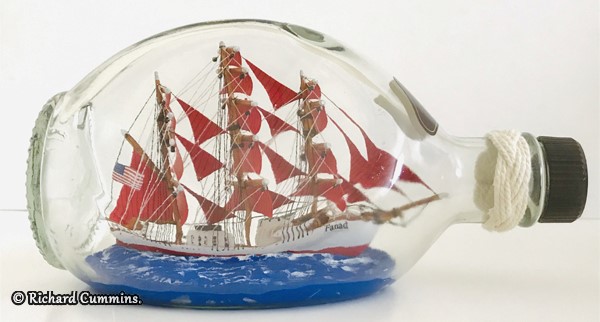
Photo #5 - Traditional Dimple Haig "Pinch" bottle.
For someone trying to build their first ship I would recommend a square Jack Daniel's or Jim Beam Bourbon bottle as the square shape (photo) makes them easier to work with.
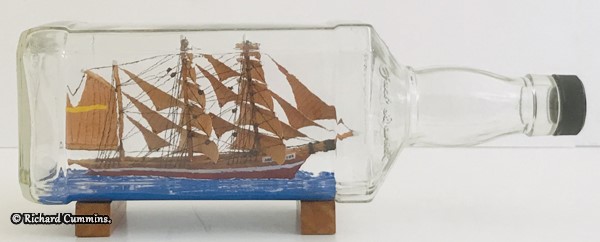
Photo #6.
Cleaning the inside of the bottle is critical, if you get one that still has a residue of whiskey in it there is no need for cleaning.
Let the bottle dry out in the sunshine and as the alcohol evaporates you are left with sparkling clear glass.
If the bottle is dirty I rinse it out in industrial alcohol as water leaves spots on the glass.
Tools needed.
Most of the tools needed are basic and easy to get in hardware stores ( photo #7).
A coping saw, a few small chisels, sharp knife, sandpaper, scissors, tweezers, paint, thread, paint brushes, a ruler, wood glue, and stain.
Rigging holes can be made with a handheld drill but a small electric one is more accurate for the tiny 1mm holes needs.
I use old metal coat hangers in various shapes to manipulate the ship in the bottle and thicker wire rods to mold the sea.
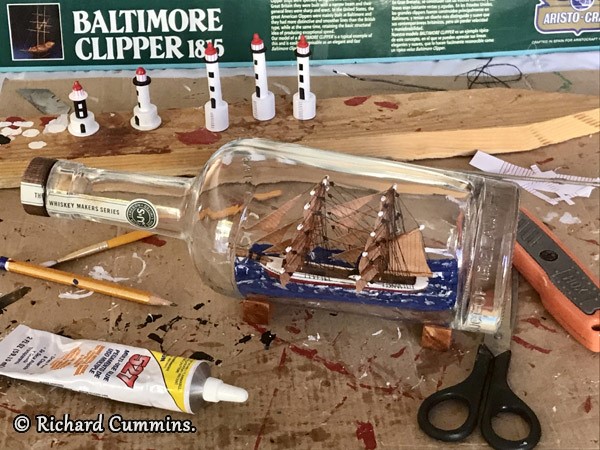
Photo #7.
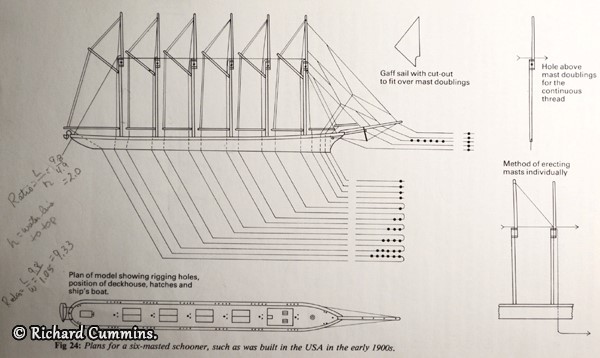
Photo #8 - Plans for a six masted Schooner.
Carving the hull.
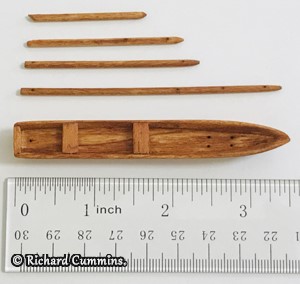
Photos #9 - Parts for a traditional "Galway Hooker".
When on lighthouses, I used the discarded wooden frames which protected the bulbs to make the hull and bottle stands but now I go to the local hardware store and buy 2 cm precut wood.
Soft wood works the best to carve the hull and I cut a piece of wood about 2/3 the length of the bottle and draw the shape of the hull on it.
I cut out the center with a chisel to make the correct depth for the deck and then I use a knife to shape the hull and finish with sandpaper ( photo #10).
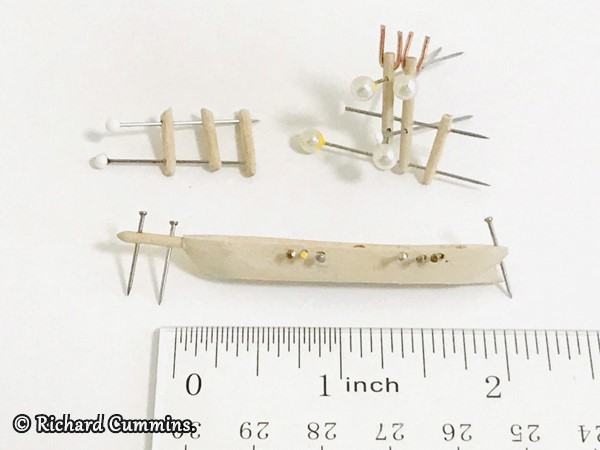
Photo #10 - 5cm hull ready for painting.
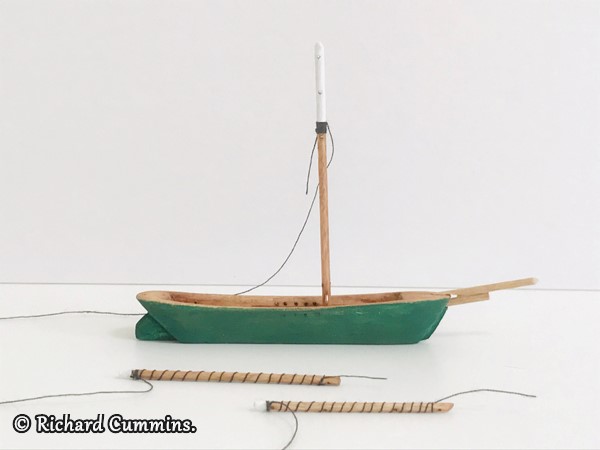
Photo #11 - Ship ready for rigging.
The next step is to mark where the masts will be located and then mark the holes for the rigging lines. An average 3 masted barque like the Cutty Sark needs around 50 tiny holes drilled in the hull to accommodate all the rigging and mast hinges.
I then use wood stain on the deck and paint the ships color on the hull using masking tape to create stripes and multiple colors (photo # 11)..
Making the sea.
There are many ways to make the sea, in the olden days keepers used window putty but that is messy and takes weeks too dry.
Over the years it tends to crack.
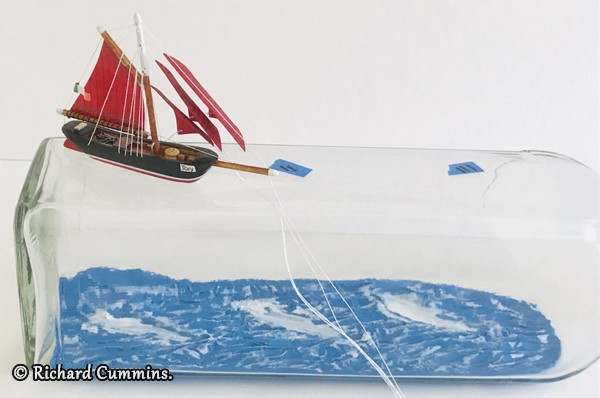
More modern materials are epoxy, modeling clay and Plasticine which is my choice, it comes in several colors from dark blue to gray depending on the look I am going for ( photos #12, #13)..
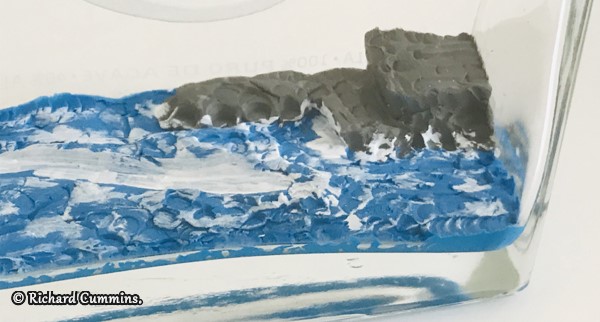
Photo #12 - Plasticine sea and rock for lighthouse.
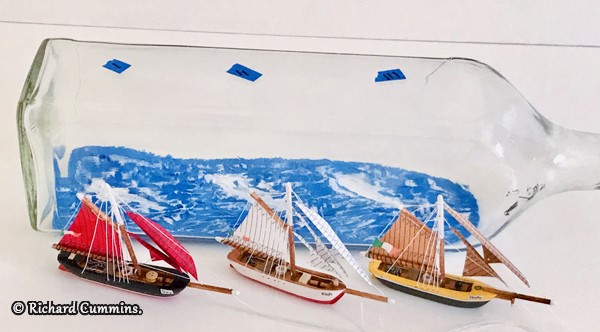
Photo #13 - Putting 3 ships in one bottle.
Some model builders glue the hull directly onto the sea.
I write my name on a flat piece of wood which I then glue to the inside of the bottle (photo #14), it also acts as a base to glue the ship to.
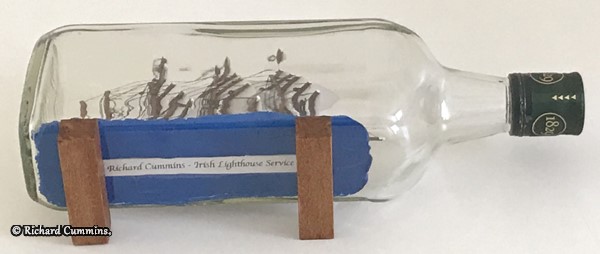
Photo #14 - Name plate.
The next step is to use the head of a paint brush on a wire to add white tips to the waves.
Masts & sails.
I usually like to fill the bottle with a large ship so as the masts and spars nearly touch the interior of the glass, but this makes measurements critical and for first time builders I would recommend not making the ship larger than 60% of the bottle interior.
This gives the builder plenty of room to move the wire rods around without getting tangled in the rigging (photos #15, #17).
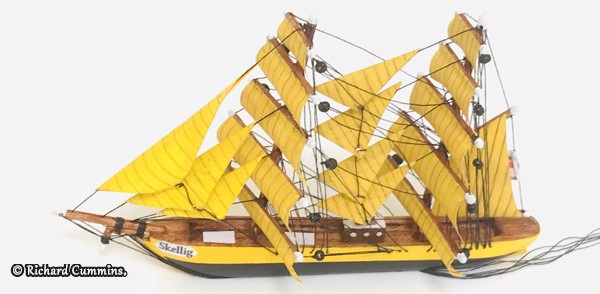
Photo #15.
The masts and spars are made from toothpicks and each spar needs 3 holes drilled in it, the mast is much more difficult as you need to drill around 12 holes in each. I use a small electric drill with a bit half the diameter of a pin.
I often break masts while drilling and if the holes are not centered the mast will break during construction.
The sails are made from white paper and to achieve the colored sails I paint both sides of the paper. When dry I use a sharp pencil to draw lines to replicate the sewing on real sails this is an optional step as is coloring and many builders leave the sails plain white.
The sails are then glued to the spars and the masts and spars are sown together with thread.
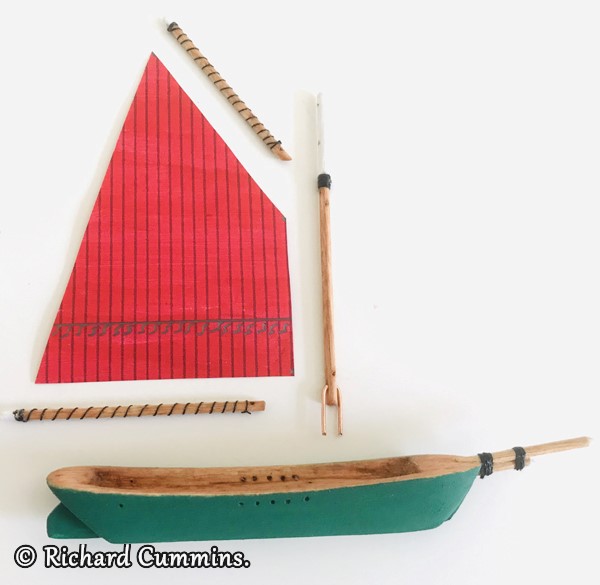
Photo #16 - Sail ready for gluing to mast.
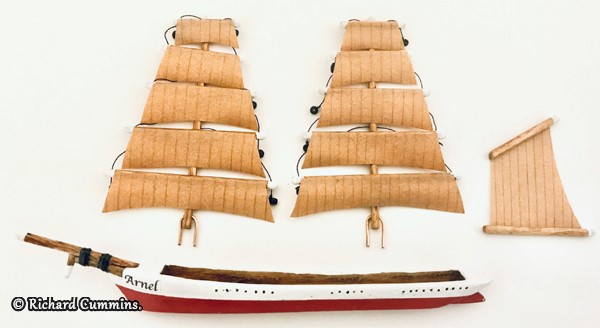
Photo #17 - Ship ready for assembly.
Assembling the ship.
Most people can't figure out how you got the ship into a bottle but the trick is to make the masts lie flat.
To do this you insert a U shaped piece of wire into the base of the mast which acts like a hinge (photos #18, #19).
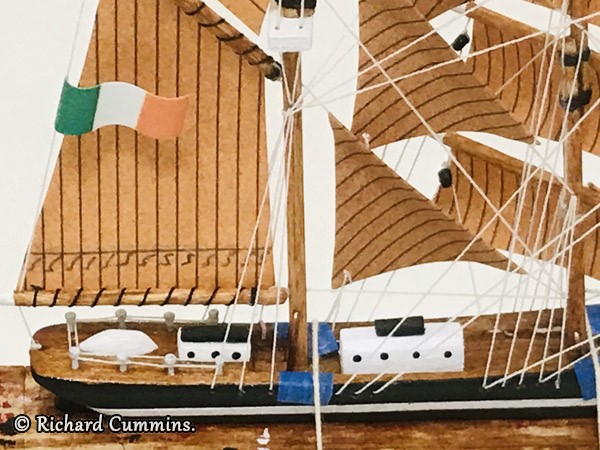
Photo #18 - Deck houses and lifeboat.
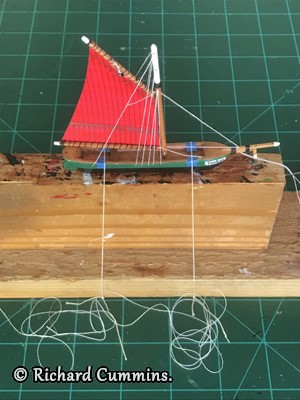
Photo #19 - Rigging in progress.
The hull needs to be attached to a wooden stand to keep it steady while you assemble the model.
Assembling the ship needs to be done slowly and each knot has to be tested and sealed to prevent slipping as you raise the masts in the bottle.
I use a toothpick with a tiny dab of varnish for this process, to much varnish will block rigging holes and your masts and rigging lines will be locked in place.
Around 3 meters of thread is needed to create the rigging and I make homemade needles out of very thin copper wire to get the thread through the tiny holes in the masts and hull.
Next, I make flags and deck hatches, larger deck houses and lifeboats have to be added after you put the ship in the bottle (photos #18, #19).
Photo #20 - Rigging in progress.
Putting in bottle.
The next stage is to put the model in the bottle and this can be very difficult especially if your measurements are not correct.
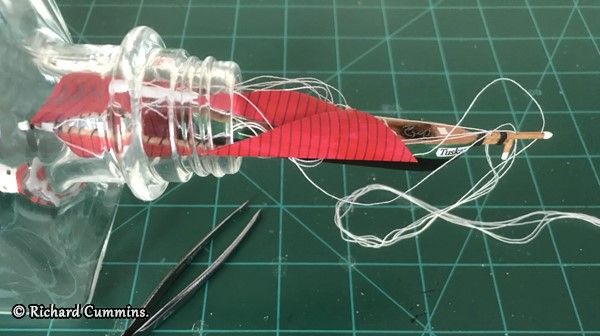
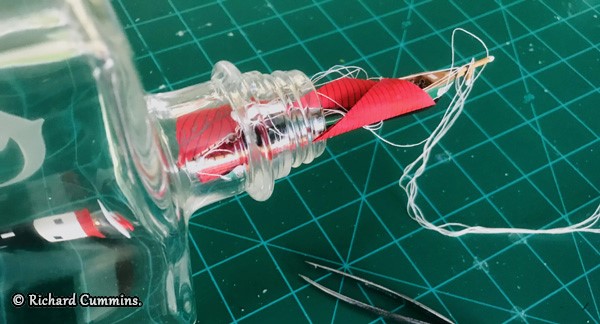
You start by loosening the rigging from the stand and then you carefully fold the sails over each other and lower the masts.
The idea is to end up with the ship in a cylindrical shape which is then slipped in through the neck of the bottle (photo #21).
Sometimes it slips in easily but more often than not it is a tight squeeze and gentle pressure is needed, this tends to be were damage is done and sails get torn off and masts can break easily.
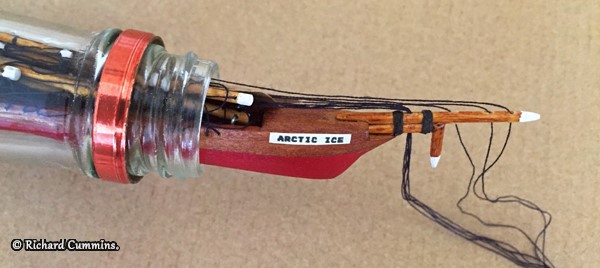
Photo #21.
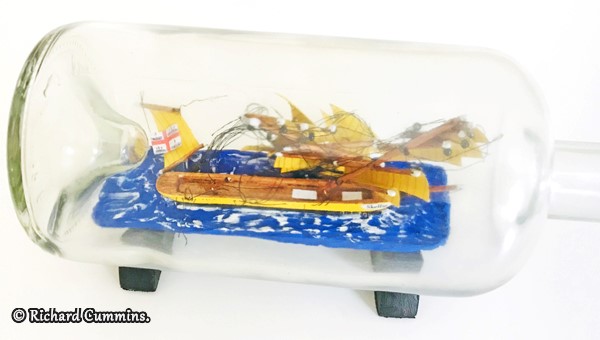
Photo #22 - Main mast broken in bottle, ship cannot be repaired.
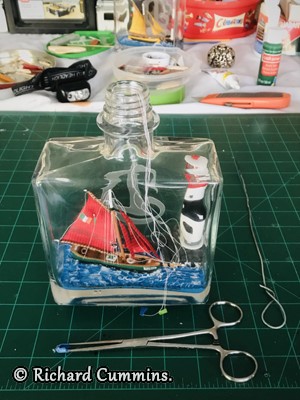
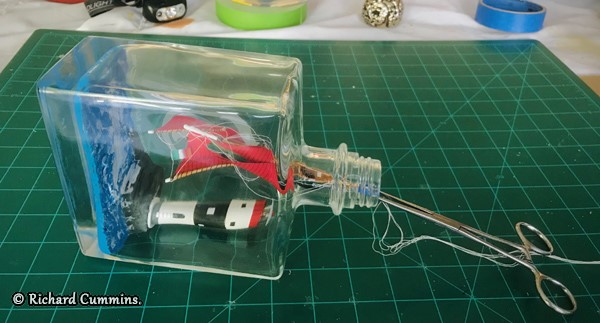
Once in the bottle I use forceps to hold the bowsprit (photos #23, #24) and with my other hand I use a piece of wire to unfold the ship and place it in position.
I then glue the base of the hull carefully so as not to get glue on the rigging.
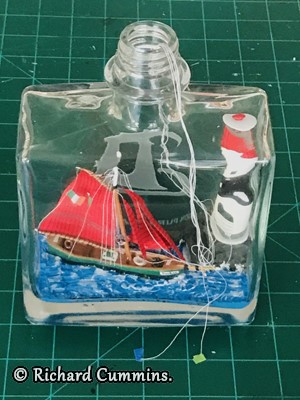
After 24 hours the glue is fully dry and I again use wires to pull up the masts and straighten the spars.
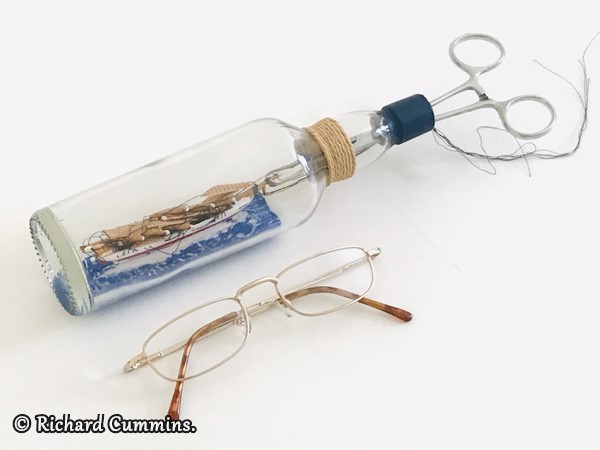
Photo #23.
The last step is to gentle pull the rigging lines until they are tight glue them in place and when dry I use a sharp blade to cut the excess thread from the bowsprit (photo #25).
I then finish the ship by adding the deckhouses and lifeboats using wire to put them in the correct position.

Photo #24.

Photo #25.
Finishing touches.
The last step is to polish the glass and make a wooden stand to hold the bottle (photo #26).
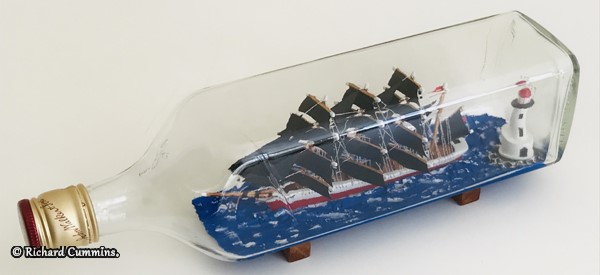
Photo #26.
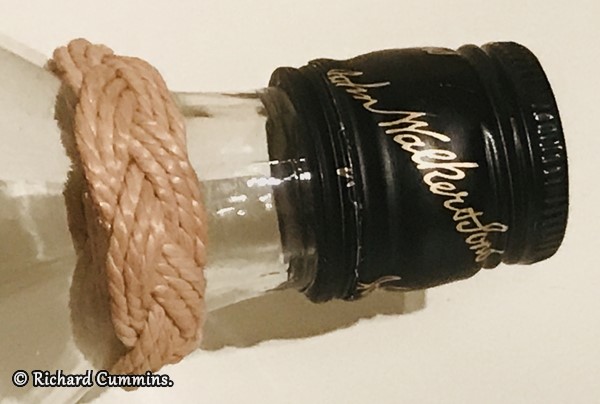
Photo #27.
I studied rope work as a lighthouse keeper and one of the decorative knots I learned was a Turks Head (photo #27) which I add to the neck of the bottle to make it more nautical looking.
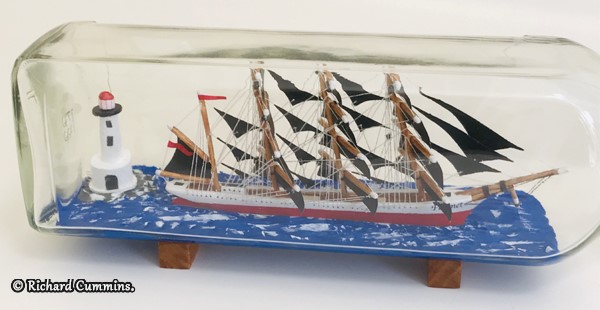
Photo #28.
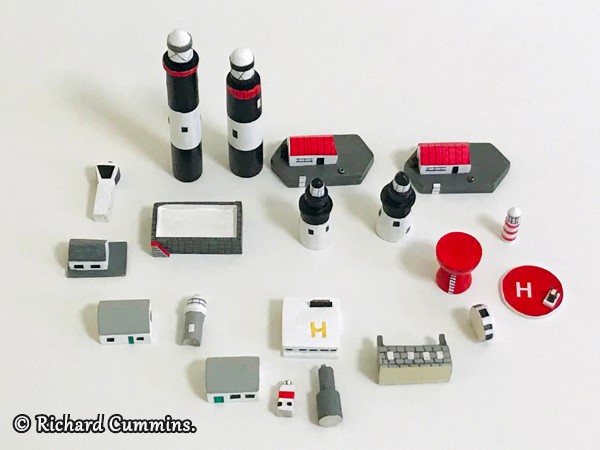
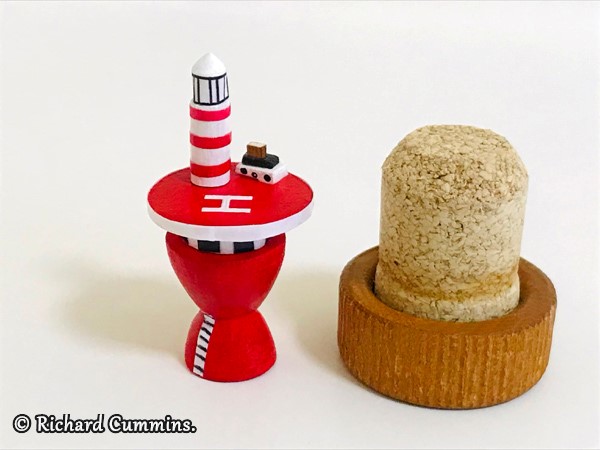
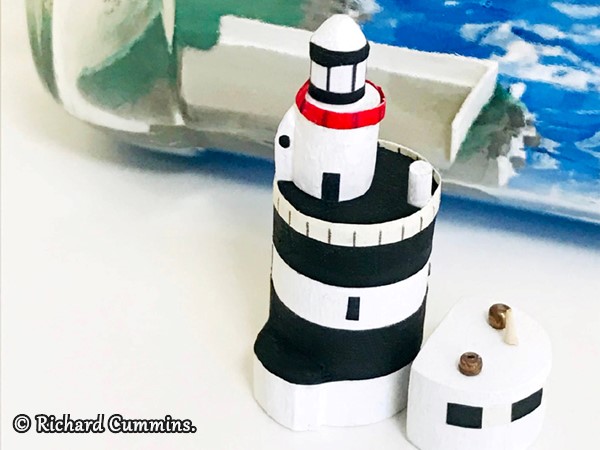
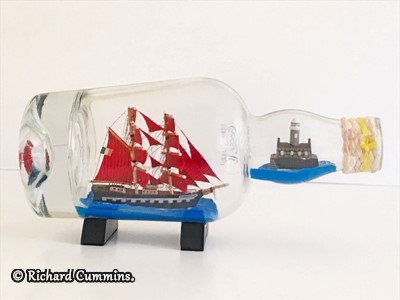
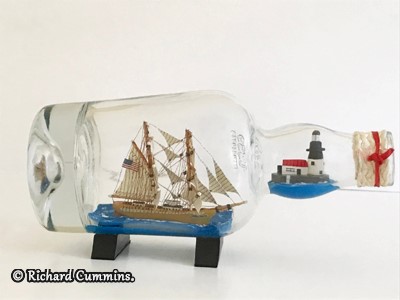
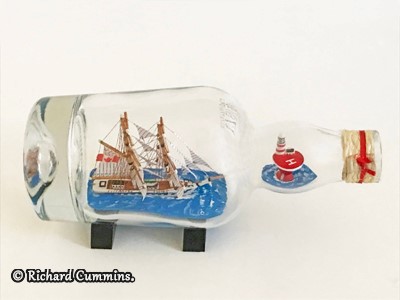
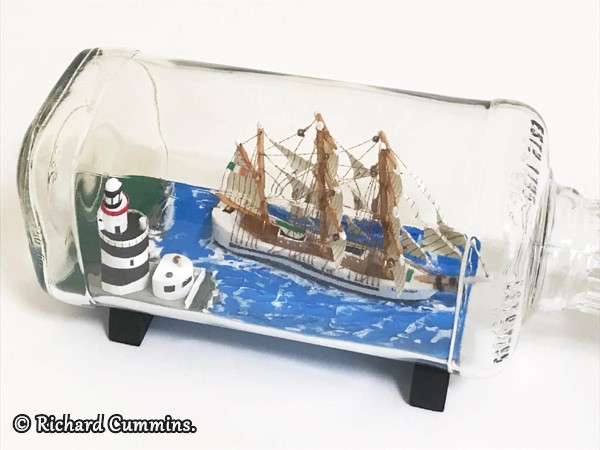
If there is space in the bottle I will add a lighthouse (photos #28, #29)
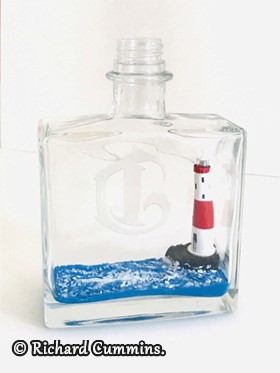
Photo #29.
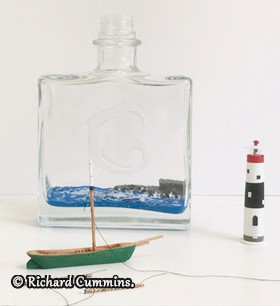
Photo #30.
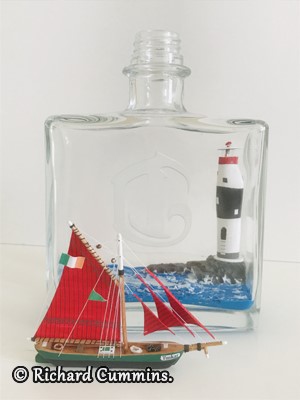
Photo #31.
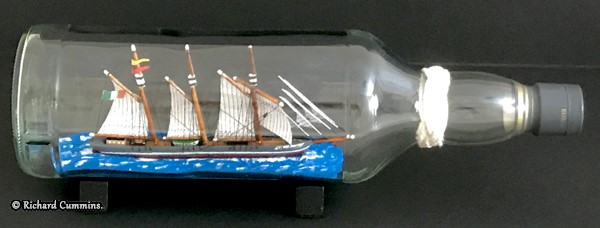
Photo #32- Historic Irish ship "Diolinda".
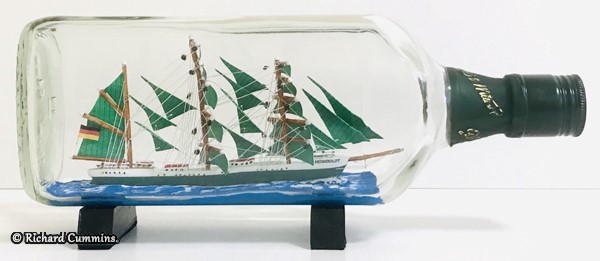
Photo #33 - Historic German sailing ship "Alexander von Homboldt".
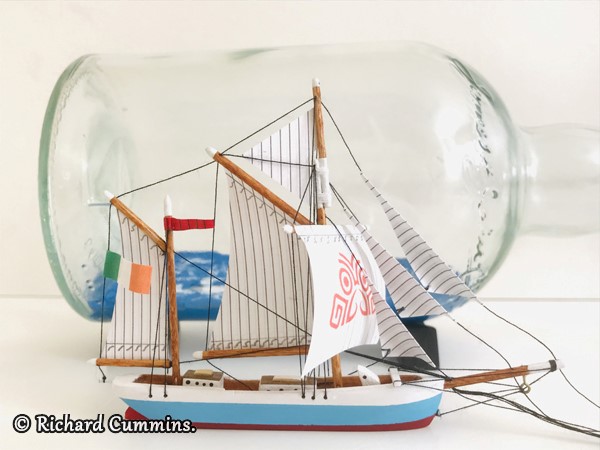
Photo #34 - Historic Irish cargo ship "Ilen" .
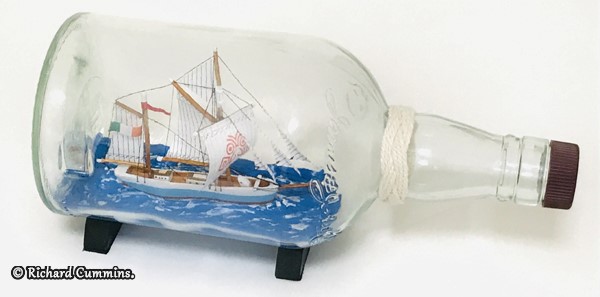
Photo #35 - Historic Irish cargo ship "Ilen".

Photo #36. - English Lightship "Calshot Spit" in 5cm bottle.
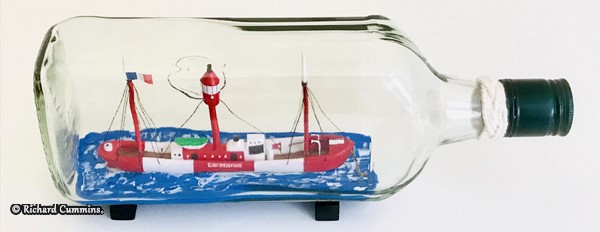
Photo #37 - French lightship "Le havre".
Lightships (photos #36, #37) also make a nice subject instead of sailing ships
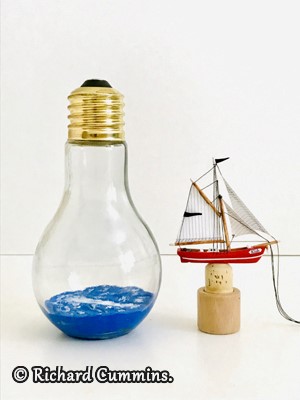
Photo #38.
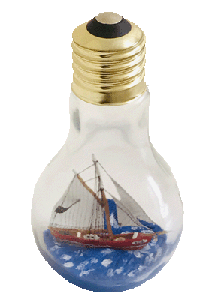
On occasion, I will put the ship in a bulb.
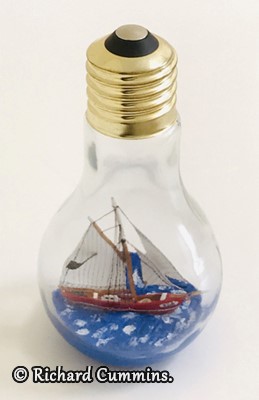
Photo #39.
Other realisations.
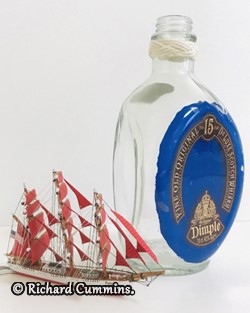
Traditional Dimple Haig "Pinch" bottle.
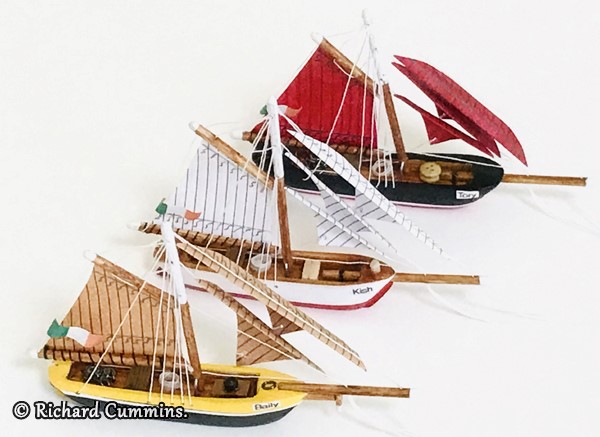
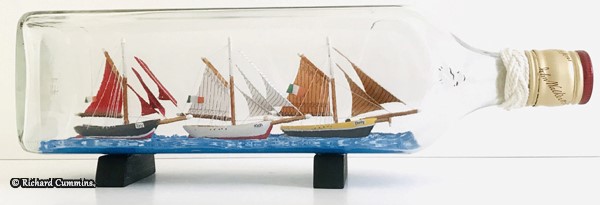
Putting 3 ships in one bottle.
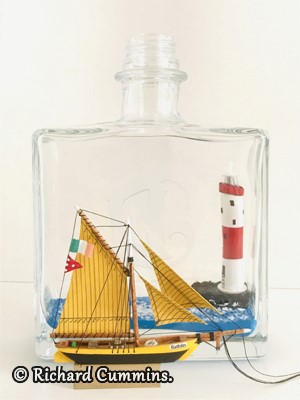
He place know lighthouses in the bottle : Mew Island, Beeves Rock, Prince Shoal, Detroit River and The Royal Sovereign lighthouses.
End of the story.
Thank you Richard for these well-documented explanations.
